
Hands-On Lab: Penetration Testing with OWASP ZAP
·
Sep 7, 2023

How ZAP works
The most basic way to use ZAP is an automated scan. The first step in the automated scan is a passive scan, in which ZAP scans a targeted web application using a spider. A spider, or web crawler, is a program that searches and indexes web content. The ZAP spider indexes the application’s content, including its hyperlinks, HTML tags, and metadata. It adds each hyperlink’s URL to a list of URLs to access. Next, the spider repeats the process for each of those URLs. It accesses the URLs, indexes their page’s contents, and adds newly discovered URLs to the list. Then, the spider repeats this process with these new URLs, and the cycle continues until the spider finds no more URLs.
Using the passive scan’s findings, ZAP maps a web application’s pages and notes vulnerabilities. The next step in the automated scan is an active scan. In this scan, ZAP uses known attacks on the URLs to exploit identified vulnerabilities and discover new ones.
Finally, ZAP reports the results of both scans. You can use this report to identify vulnerabilities to investigate further.
Lab overview
In this lab, I performed penetration testing, also known as pen testing, on a web application using a ZAP automated scan. I installed the Java Runtime Environment that ZAP needs, and then I installed ZAP and explored its interface. I used ZAP to test a web application, and then I viewed the results.
Note: ZAP can damage a website, and unauthorized attacks on websites are illegal in some parts of the world. Use ZAP only on websites that you have permission to attack!
Learning objectives
After completing this lab, I will know how to:
— Install Java Runtime Environment
— Install ZAP
— Describe the key components of the OWASP ZAP interface
— Test a web application’s security using OWASP ZAP
— Identify a web application’s vulnerabilities using the results of an OWASP ZAP scan
What’s needed
— A computer running Windows, MacOS, or Linux (MacOS is used for this lab)
— Java 8 or later
The macOS installer for ZAP installs a correct Java version, but Windows and Linux users must install Java separately. For detailed information on this tool, including its features and installation requirements, refer to the OWASP ZAP Getting Started page.
Task 1: Install Java Runtime Environment
A Java Runtime Environment must be installed before running the Windows or Linux version of ZAP.
If you already have Java Runtime Environment 8 or later installed or are using macOS, skip to Task 2.
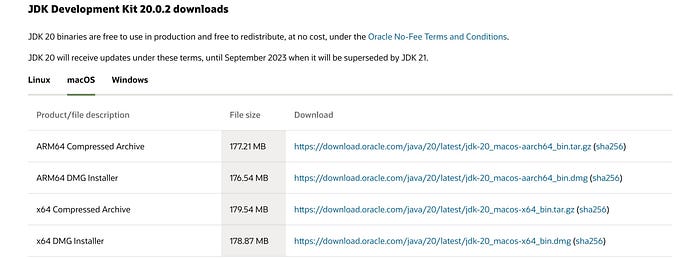
I accessed https://www.oracle.com/java/technologies/downloads/, and then selected an installer or file compatible with my operating system (OS).
- If you are using Windows, click the download link for the x64 installer.
- If you are using Linux, click the download link for a package or archive appropriate for your Linux distribution. For example, if you are using Kali Linux, click the download link for the x64 Debian package since Kali Linux is a Debian-based distribution.
Since I am using MacOS, I downloaded the x64 DMG Installer.

Task 2: Install ZAP
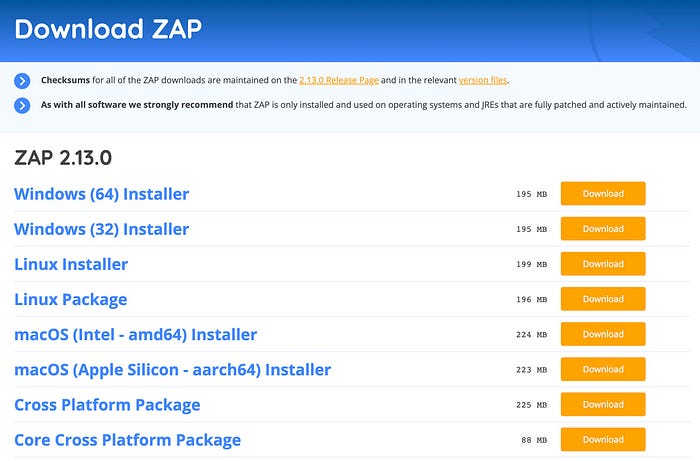
Access https://www.zaproxy.org/download/, and then click the Download button for the installer compatible with your OS.
Open the downloaded file; click the OWASP ZAP application for next steps to properly setup and install.
Once installation finishes, lets explore the interface!
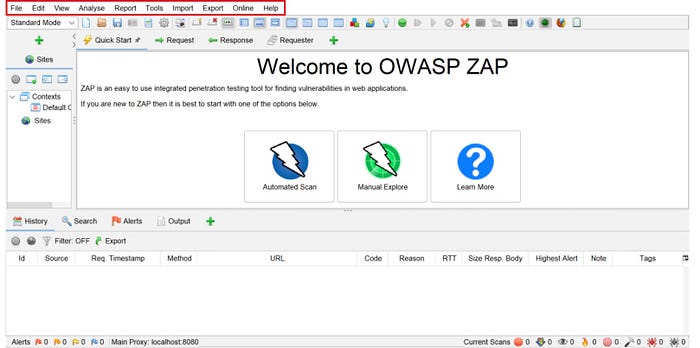
Task 3: Explore ZAP
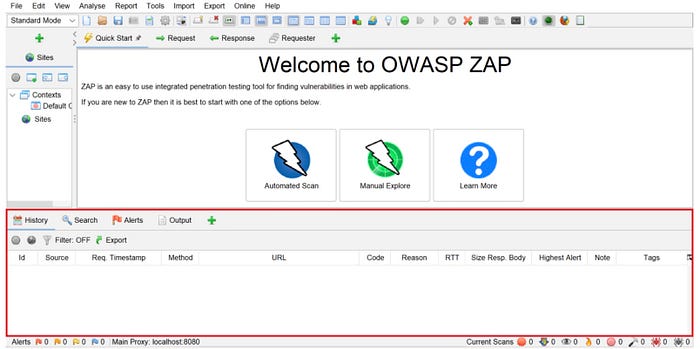
Open ZAP.
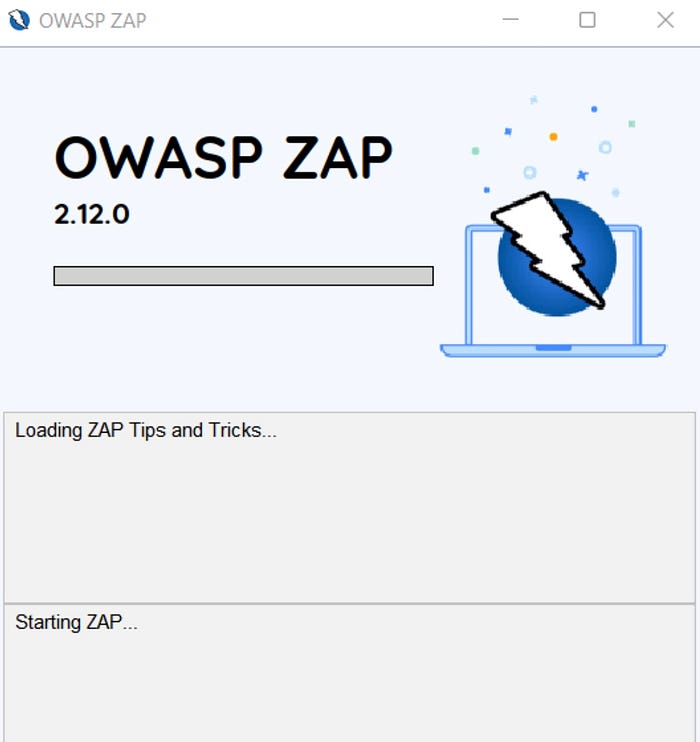

At startup, a pop-up window displays with the question, “Do you want to persist the ZAP session?” Click No, I do not want to persist this session at this moment in time, and then click Start.
Note: If you persist the session, ZAP will save the session to disk. By choosing not to persist, you ensure that ZAP deletes the session files when you close the program.
Now…let’s get into it shall we!
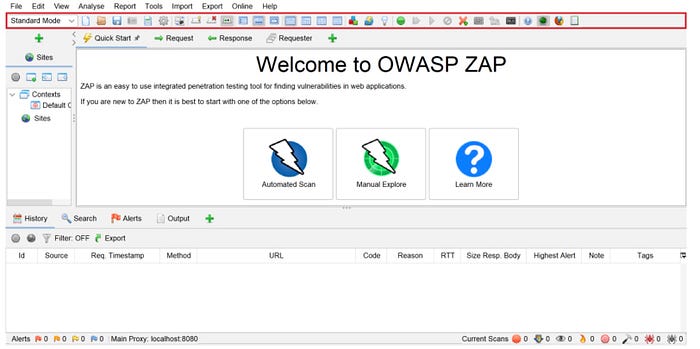
- The menu bar contains various automated and manual tools.
- The toolbar contains shortcuts to frequently used features.
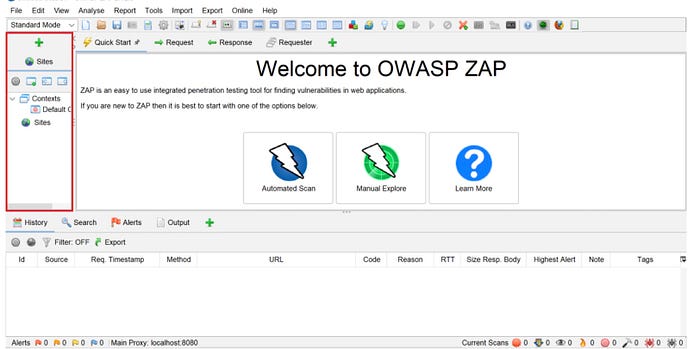
- The Tree window contains the Sites tree, which is one helpful tool for viewing the results of your attack.
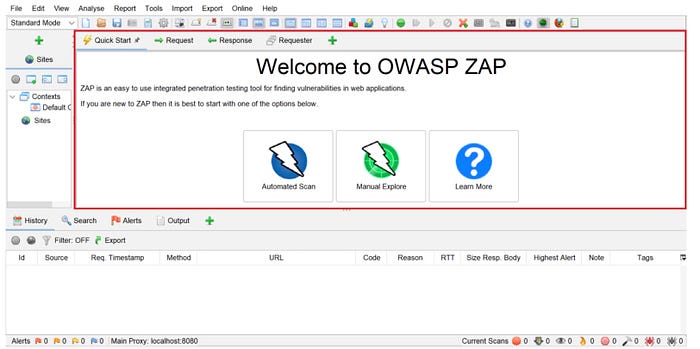
- The Workspace window contains request and response information and is one location where you can start a scan.
- The Information window displays information gathered from scans.
- The Footer displays general information about vulnerability alerts and scanning tools.
Task 4: Test a web application
Remember, perform pen testing only on the website used in this lab.
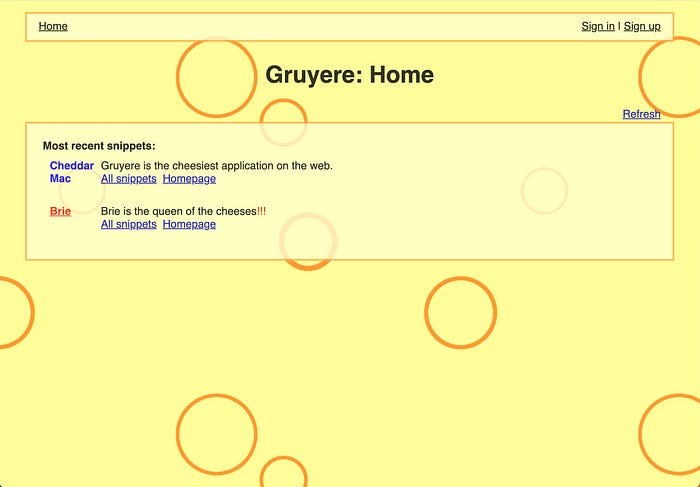
Now, I’m ready to test Google Gruyere — a website designed for those learning about application security. The website is intentionally full of security bugs, so my attack will produce ample results.
I accessed Gruyere at http://google-gruyere.appspot.com/start. Doing so starts an instance of Gruyere with a unique ID.

- I clicked Agree & Start and the website for my Gruyere instantly opened.

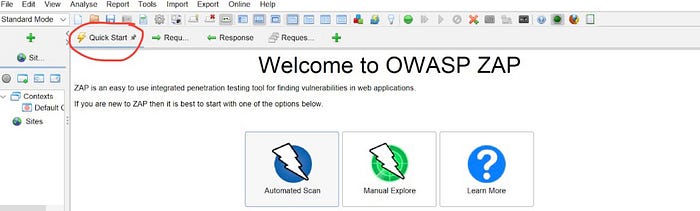
- I then copied the URL from my Gruyere instance before returning to ZAP and clicked the Quick Start tab in the Workspace window. In the Quick Start pane, I clicked Automated Scan.
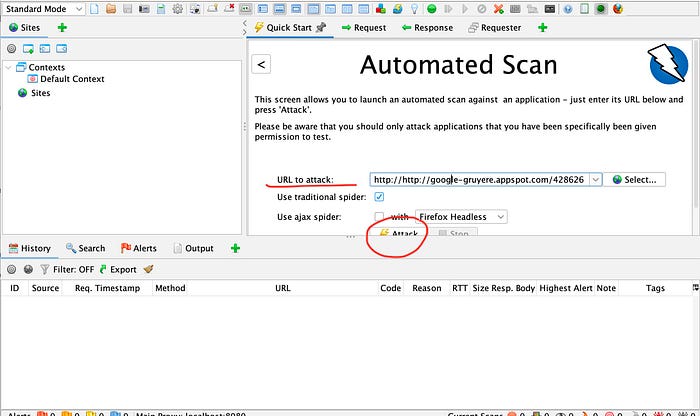
- I paste the URL of my Gruyere instance in the URL to attack field, and then clicked Attack.
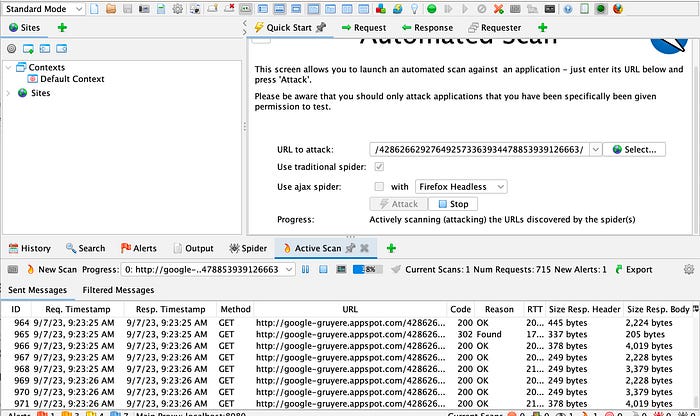
- Here, ZAP tests the Gruyere instance.
Task 5: View test results
Once testing is complete, I can view the results. The report included a detailed mapping of all the Gruyere instance’s pages and subpages and any hidden, potentially forgotten, or unsecured pages. It also listed any resources used to manage these pages.
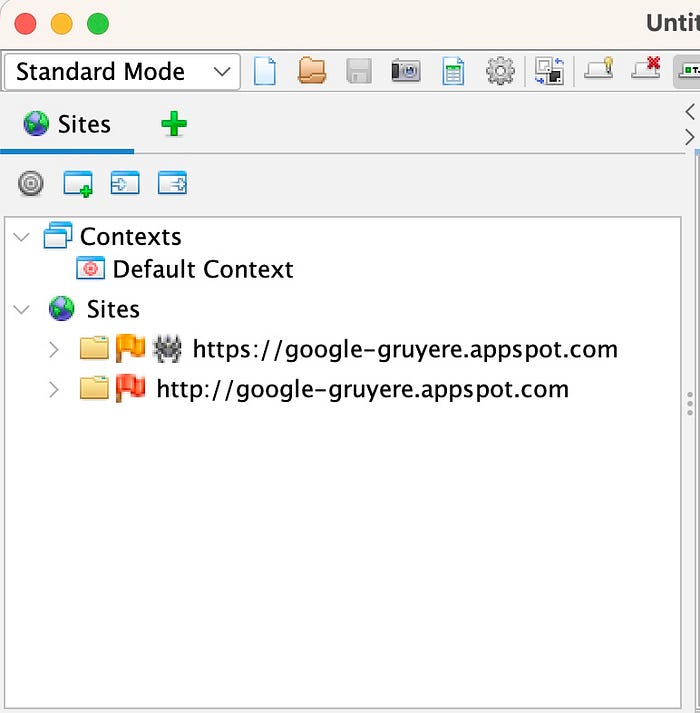

- In the Tree window, I expanded Sites and expanded other sites to see more URLs discovered and explored.
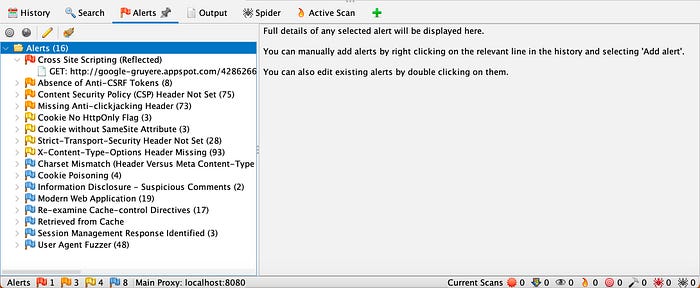
- As ZAP searches and indexes a site, it sends various test requests to pages that it discovers. ZAP creates an alert for any page with a potential vulnerability. In the Information window, I clicked the Alerts tab to view a list of all vulnerabilities detected.
- I clicked an alert to view additional information about it, and expanded the alert to display the URL (or URLs) that triggered it.
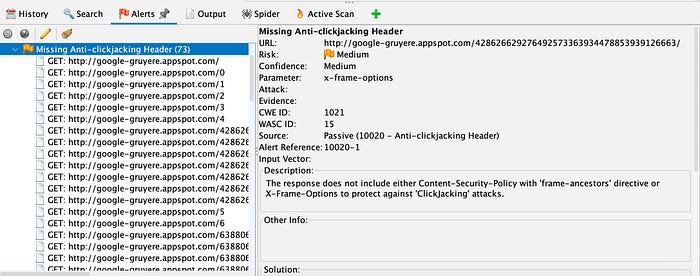
In the example above, ZAP reported that the Gruyere instance has missing anti-clickjacking headers on 73 URLs. Clickjacking is when an attacker conceals a hyperlink under a button or link that looks legitimate. By clicking the button or link, a user unknowingly completes actions desired by the attacker, such as granting microphone and camera access. In this example, ZAP did not detect the security headers that prevent clickjacking.
ZAP labeled this vulnerability a medium risk.
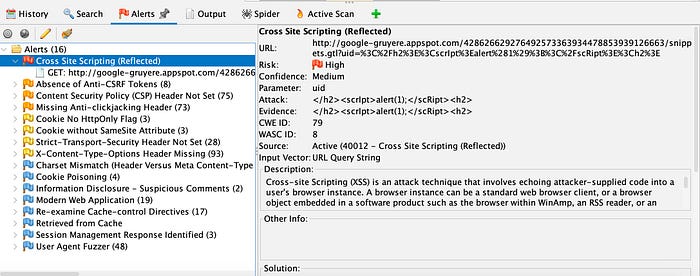
In this example, ZAP provided a high-risk alert for possible cross-site scripting (XSS). ZAP shared the specific page’s URL and explained what cross-site scripting is.
Note: Because Google Gruyere instances are vulnerable by design for testing and learning purposes, your pen test should produce many alerts to explore.
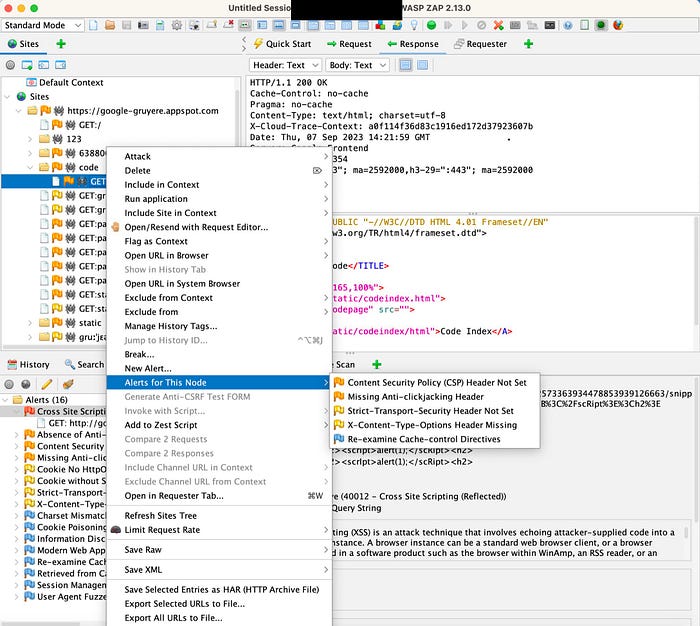
- Last but not least; to view alerts by node, first, in the Tree window, right-click a node. In this case, since I’m using MacOS, I pressed Ctrl + clicked the node. Next, I clicked Alerts for This Node from the pop-up menu.
上一篇
Building A Secure And Scalable Azure Landing Zone: Best Practices And Insights - Royal On Tech
下一篇
⭐[教程] 通过CloudFlare+SaaS回源优选IP使国内用户高速访问网站 - Dooo.ng 个人博客
- Author:NetSec
- URL:https://notes.51sec.org/Technologies/204fc8e8-dcfd-8117-9de5-e898526a3432
- Copyright:All articles in this blog, except for special statements, adopt BY-NC-SA agreement. Please indicate the source!


